Generate New Enemy #
To create new enemies, the first thing to do is to import a Static Mesh of the desired appearance.
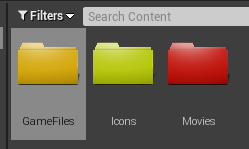
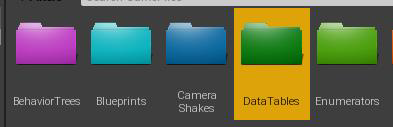
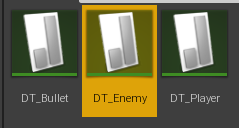
Once the Static Mesh is imported, you must access the directory and open the file DT_Enemy:
GameFiles/DataTables/DT_Enemy
After opening the corresponding Data Table, you can create a new enemy by clicking on the Add button:
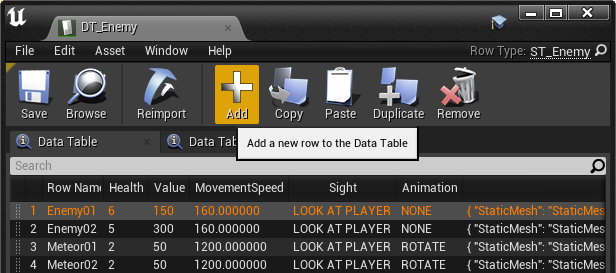
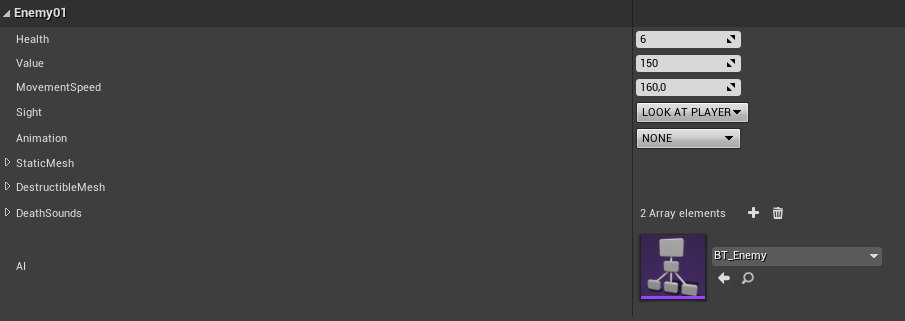
After that, you will have to fill in all the data to create your enemy:
Custom AI #
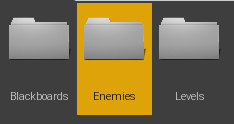
To create a custom AI, you will make use of the Behavior Trees located in the following directory:
GameFiles/BehaviorTrees/Enemies

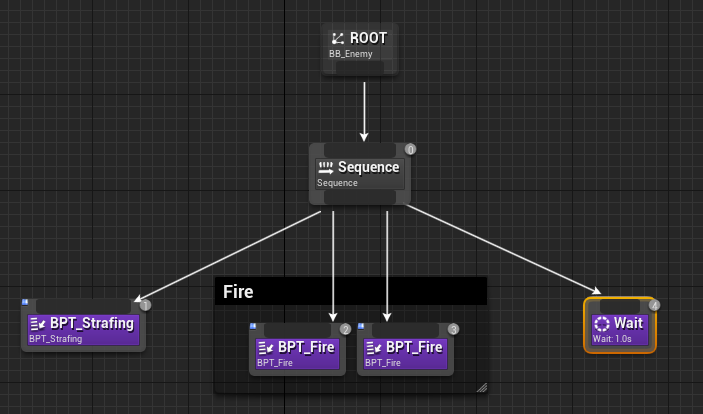
In this folder, you will duplicate any of the existing Behavior Trees. In the Behavior Tree created, the Tasks will be located. Currently there are the following ones:
- BPT_Fire: Fires a series of bullets receiving a total number of bullets, the duration of the attack, the type of bullet and both the initial and final angle of the sweep.
- BPT_MoveForward: The enemy moves forward (following its Forward Vector).
- BPT_Strafing: The enemy moves in a random diagonal avoiding walls.
In the GameFiles/Blueprints/Tasks directory you can find existing Tasks, which can be used as a reference to create custom ones.
With these Tasks you can create your own AIs for the enemies following the same logic required for a Behavior Tree of any other project.
Custom Bullet Creation #
The GameFiles/DataTables/DT_Bullet directory contains all the bullets that can be fired by both the enemies and the player.


To create a custom bullet in this Data Table, the procedure is the same as for the enemies. You will have to click on the Add button or duplicate one of the existing ones.
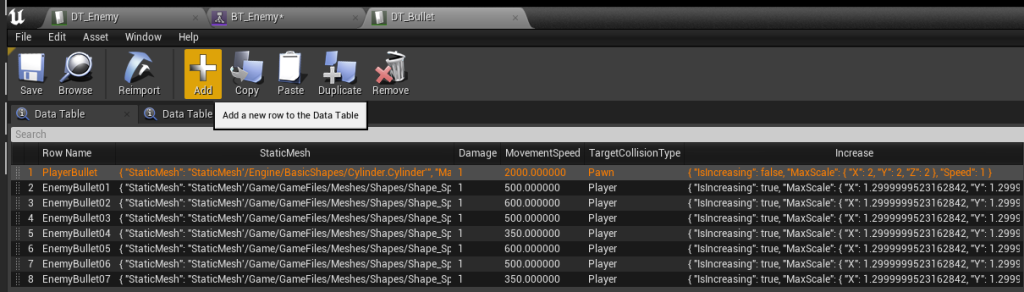
Now you only have to fill in the variables required for its operation.
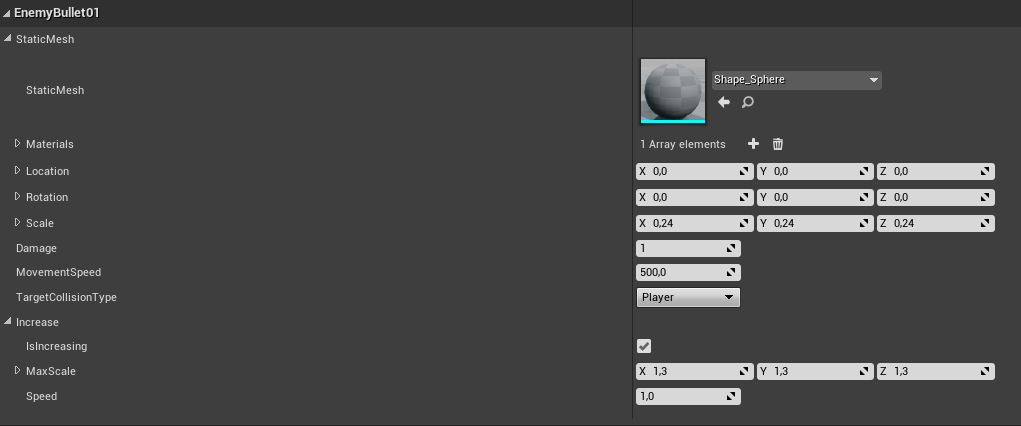
In case you want to modify the player’s bullet, change the parameters of the row named PlayerBullet.


