Initial Setup #
To make the files found in this project work in a different project, the following steps must be followed:
- Change the Game Instance of the project / Add interface to an existing one
- Choose the level where you will work
- Choose the Game Mode of the scene / Add interface to an existing one
Game Instance Configuration #
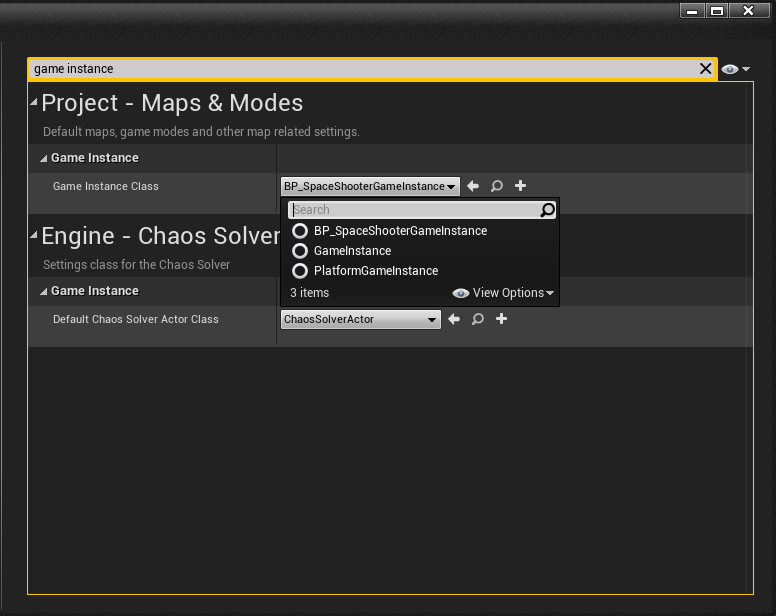
You must access the Edit/ProjectSettings tab.
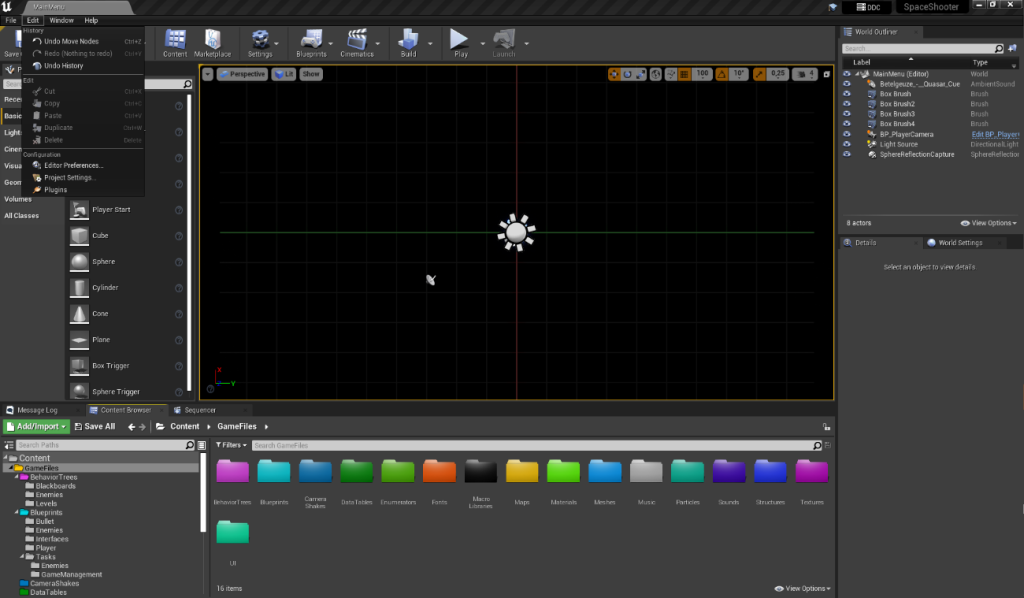
Once this is done, type “Game Instance” in the explorer and change the Game Instance Class to BP_SpaceShooterGameInstance.
New Game Instance Creation #
In case you want to use your own Game Instance, the only thing you have to make sure is to include the BI_GameInstance interface in yours.
For it, inside your Game Instance, open the Class Settings tab, and where it appears Interfaces, add the BI_GameInstance interface.
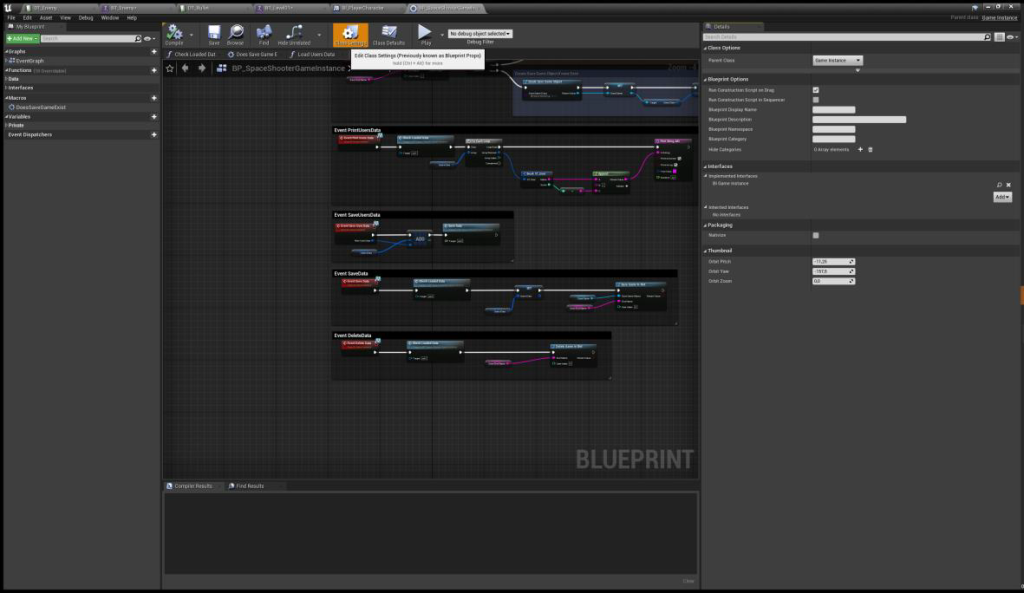
Now, you can modify the content of the methods of this interface to calibrate it to your liking.
Level #
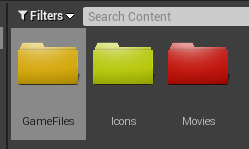
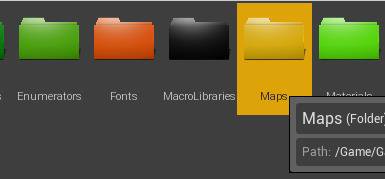
The map to be worked on will be the one named Level located in the GameFiles/Maps/Level directory.

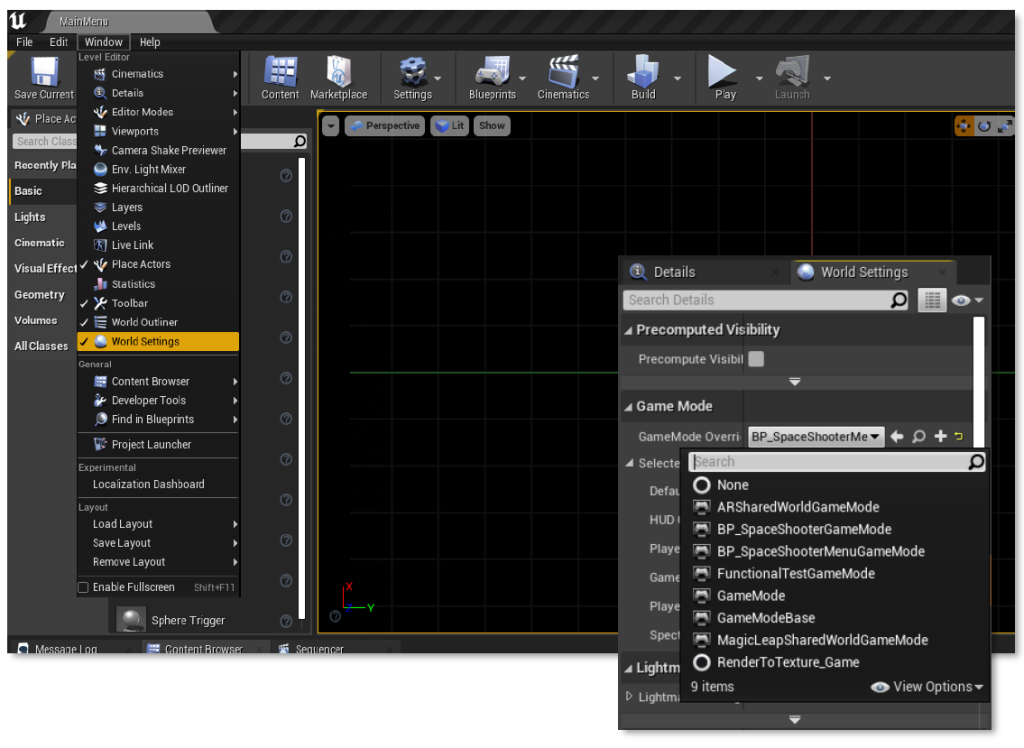
Game Mode Configuration #
On the map where the game will be played, check that the Game Mode selected in the World Settings window is the one named BP_SpaceShooterGameMode.
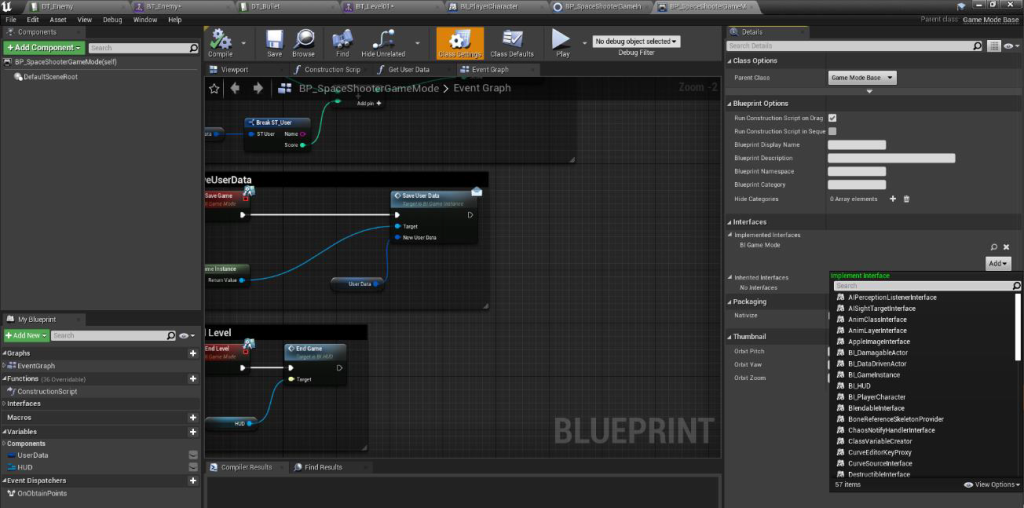
New Game Mode Creation #
In case you want to use your own Game Mode, the only thing you have to make sure is to include the BI_GameMode interface in yours.
To do so, inside your Game Mode, open the Class Settings tab, and where Interfaces appears, add the BI_GameMode interface.
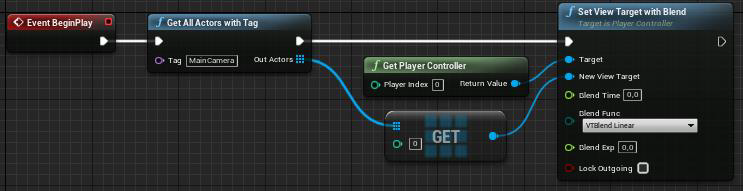
In order to configure the camera in the new Game Mode, add the following in the Begin Play event:
Despite the existence of this possibility, I do not recommend creating your own Game Mode, as it may cause several problems related to the user interface and the implemented Dispatchers.


